Data grids are used throughout PDQ Inventory. They have a number of customizable features that will help you use and organize data and elements in the software.
Data grids are organized into rows and columns. Each column has a number of properties that can be customized. Right-clicking a column header gives you access to many of the features of each grid.
Customizing Rows and Columns
Attribute |
Command(s) |
Details |
Column Width |
Best Fit Best Fit (all columns) |
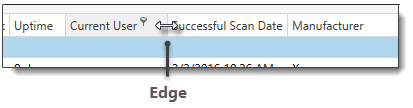
To change the width of columns, do one of the following: •Click and drag the right side (edge) of the column header left or right to make it narrower or wider. •Double-click on the right side (edge) of the column header to make the column fit its widest content.
•Right-click the column header and select Best Fit |
Position |
Customize this grid Edit Columns |
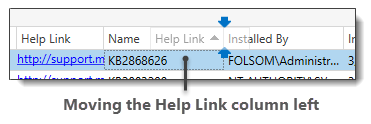
To move columns, do one of the following: •Click and hold a column header, then drag it to a new location. Blue pulsating arrows indicate where the column will be placed.
•Click the Customize this grid |
Hide/Show |
Customize this grid Edit Columns |
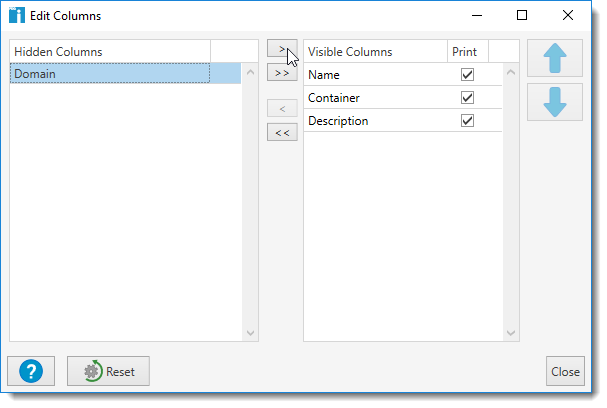
To show or hide columns, follow one of these methods: •Click and hold the column header, then drag it out of the grid •Click the Customize this grid
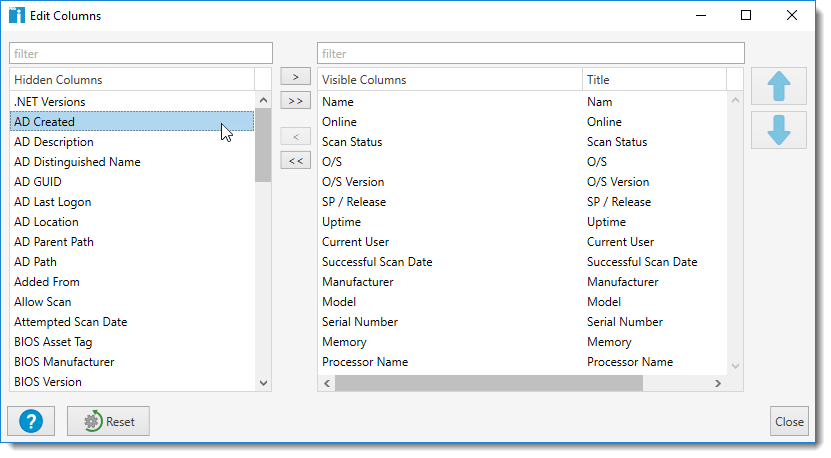
•Click Collection > Customize Collection Page (or Ctrl+Alt+Shift+Z). In the Edit Columns window, move the columns left or right to hide or show them.
|
Sort |
Sort Ascending Sort Descending Clear Sorting |
To sort one column, do one of the following: •Right-click the column header and select Sort Ascending •Click the column header to toggle between ascending To sort multiple columns: •Shift+click two or more columns. The columns sort in the order clicked. To clear a multi-column sort, right-click a column head, then select Clear Sorting or click any single column head without using Shift+click to return to sorting by one column. |
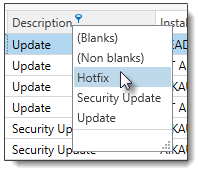
Filter |
Clear Filter |
To filter a data grid: •On the column header of the column you want to filter, click the filter symbol
To clear filtering, do one of the following: •Click the filter symbol •Right-click the column header and select Clear Filter •At the bottom of the grid, click Clear Filter
|
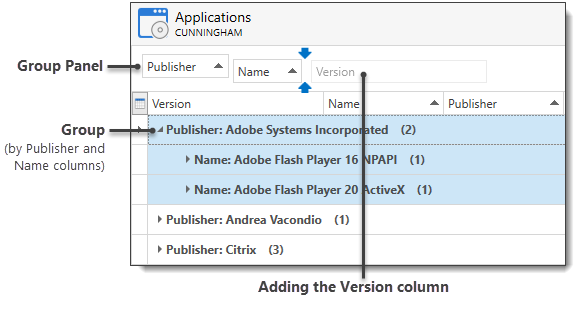
Group |
Show/Hide Group Panel Group/Ungroup this Column Full Expand Full Collapse Clear Grouping |
Grouping a data grid allows you to organize rows into a hierarchy potentially making it easier to navigate. With a column grouped, you can selectively view rows based on those groups. To group columns, do one of the following: •Right-click a column header and select Group by this Column •Right-click a column header and select Show Group Panel
Once grouped, you can choose how to view the details with one of the following: •To see all data, right-click in the group panel and select Full Expand •To see just the groups, right-click in the group panel and select Full Collapse To remove grouping, do one of the following: •For just one column, right-click a column in the group panel and select Ungroup •For just one column, drag the column from the group panel back to the column header. •For all columns, right-click in the group panel and select Clear Grouping |
Edit Columns |
Most grids in PDQ Inventory can be printed. Some are printed by themselves and others are printed as part of other reports. You can specify the columns that do and do not print. Click the Customize this grid |
|
Reset |
Reset |
Click the Customize this grid |

© 2018 PDQ.com Corporation. All rights reserved.
PDQ.com is a trademark of PDQ.com Corporation. All other product and company names are the property of their respective owners.
Help Version: 16.1.0.0